 Go to Kayako Classic
Overview
When a user submits a ticket through the Help Center, the line breaks and spaces are usually removed once the ticket is converted into a conversation in Kayako. This is expected behavior as the Kayako default form is configured to do so. This behavior sometimes causes inconvenience as it may be hard for agents to read the ticket content.
This article provides information on configuring the template to maintain line breaks and spaces when submitting a ticket through the Help Center.
Process
To fix this issue, you need to add a custom Javascript code to the footer template. When the tickets are submitted, this code carries the line breaks and spaces in the new submissions or updates via the Help Center over the conversations. To add the Javascript code, please follow the process below.
- Sign in to Kayako.
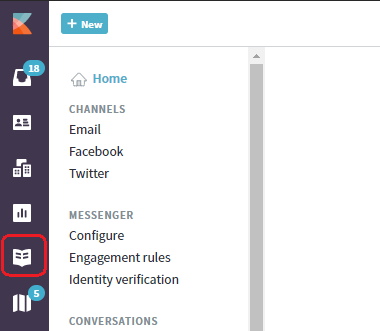
- Go to the Help Center.
- Click on the Customize button.
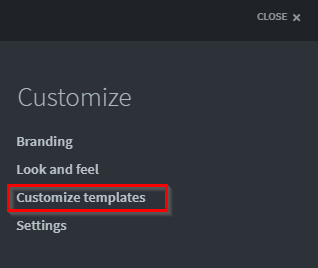
- Under the Customize menu, select Customize templates.
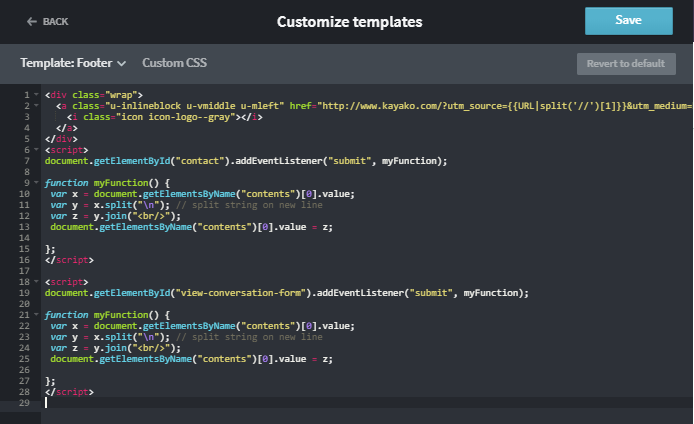
- From the Template drop-down, select the footer template.
- Once you have selected the footer template, add the code below at the end of the existing code.
<script>
document.getElementById("contact").addEventListener("submit", myFunction);

function myFunction() {
 var x = document.getElementsByName("contents")[0].value;
 var y = x.split("\n"); // split string on new line
 var z = y.join("<br/>");
 document.getElementsByName("contents")[0].value = z;

};
</script>

<script>
document.getElementById("view-conversation-form").addEventListener("submit", myFunction);

function myFunction() {
 var x = document.getElementsByName("contents")[0].value;
 var y = x.split("\n"); // split string on new line
 var z = y.join("<br/>");
 document.getElementsByName("contents")[0].value = z;

};
</script> - Once you have finished making the changes, click on the Save button.
- Refresh the Help Center page to make the changes take effect.


Priyanka Bhotika
Comments